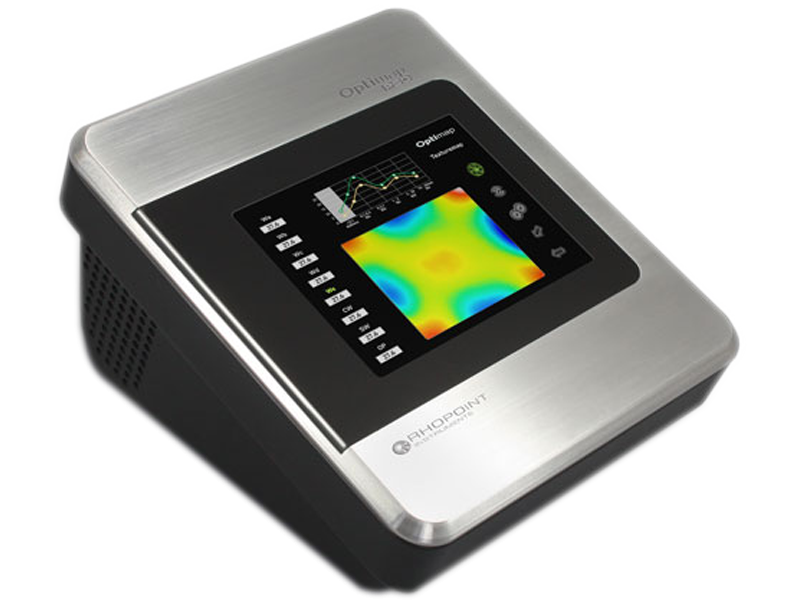
The new Optimap™ marks a revolution in the control of surface quality. For the first time subjective visual assessment can be replaced with reliable, representative measurement.
Optimap PSD
For maximum consumer impact, high quality products require high quality finishes that are homogeneous, blemish and defect free. Surface finish is currently assessed subjectively by visual inspection or measured by instruments that do not capture a full picture of surface quality.
The Optimap™ is the first portable instrument to map and measure surface texture
Using an advanced measuring technique known as Phase Stepped Deflectometry (PSD) the Optimap™ is capable of making fast, objective, full field measurements over large areas requiring no movement over the surface.
Surface texture is used to quantify visible faults such as orange peel, waviness and DOI problems. It can also be used to identify local faults such as inclusions, pinholes, runs, sags, blisters etc.
In a single fast operation the Optimap™ maps the topography of a test surface displaying faults and texture in incredible detail. Mapped information is processed into objective surface measurements that can be used to effectively control product quality
Features:
- Rugged and accurate the Optimap™ is suitable for laboratory, factory or on-site inspection.
- The soft touch measurement portal means the instrument can be used safely on the highest quality surfaces.
- No movement required during measurement
- Touch screen operation means operator training is minimal
- Surface texture and defects can be assessed on a huge variety of surfaces: semi matt surfaces to polished mirrors, small & curved parts
- A large area is mapped in a single operation (95 x 70mm), up to 100 times more representative than other texture scan instruments
- Onscreen texture maps show orange peel, waviness and surface defects in incredible detail
- Objective measurements can be displayed in traceable SI units or selected industrial scales
- Data and results are fully compatible with other analytical techniques and third party software
- Optional software allows sophisticated texture/fault analysis and report generation
Technical specifications
| Range | Wavelength (mm) | Curvature (m-1) |
| Ka | 0.1 – 0.3 | 6.897 |
| Kb | 0.3 – 1.0 | 3.768 |
| Kc | 1.0 – 3.0 | 2.067 |
| Kd | 3.0 – 10.0 | 1.343 |
| Ke | 10.0 – 30.0 | 0.4810 |
- Display: 6.5 inch Colour VGA TFT Touch Screen
- Camera: 1.3 Megapixels, image resolution 1296 x 966
- Measurement Area: 95mm x 70mm
- Lateral Resolution: 75µm
- Data storage: 6GB Compact Flash – 200 readings
- Power: Lithium Ion Battery 4800mAH / 4-8 hour usage / charge
- Weight: 3.0 Kg
- Dimensions: H – 200mm, W – 218mm, D – 250mm
- Better than 1%
- Reproducibility: Better than 2%

